How to Use Google Sheets for Advanced Project Management
Master Google Sheets for project management with these advanced tips. Check our free tutorials, tools, and templates for data management, task flow, and much more.
You know conditional formatting. You know how to use the FILTER() formula. But I bet you don’t know these simple ways to get more out of Google Sheets.
Here are 5 advanced ways to manage projects inside of Google Sheets
- Manage Task Flow with IF() and a Checkbox
- Manage Data Inputs with IF() and ISBLANK()
- Create Quick Dashboard headers with: Transpose / Unique
- Create Pickers with Index / Match
- Email reports with Apps Script
Manage Task Flow with IF() and a Checkbox:
Use the IF() function to create dynamic task flow, where certain tasks are only triggered based on the completion of others. Add a Checkbox to a task list to visually indicate task status and use the IF() function to automate the marking of the task as complete with far more flair than “a check mark”. Meaning that you can add text, or other tasks to do based on the completion of the task. You can also turn the text from a future tense to a past tense. This may seem small but makes writing reports later on so much easier. And makes you feel like you actually accomplished something more. Bonus points you have to write the task as if it were done, so this gives you time to visualize the task being done. Thus making it easier to do.
Manage Data Inputs with IF() and ISBLANK():
Combine the IF() function with ISBLANK() to trigger a message or action when a cell is left empty or when it is not empty any more. Data input fields have a visual representation of being done, they are “full”. But adding an external piece of information helps manage more around that task of data entry. It could be a reminder to check the veracity or syntax of the data someone imputed. Or it could help manage the flow, and tell them where to go next.
Create Quick Dashboard headers with: Transpose / Unique:
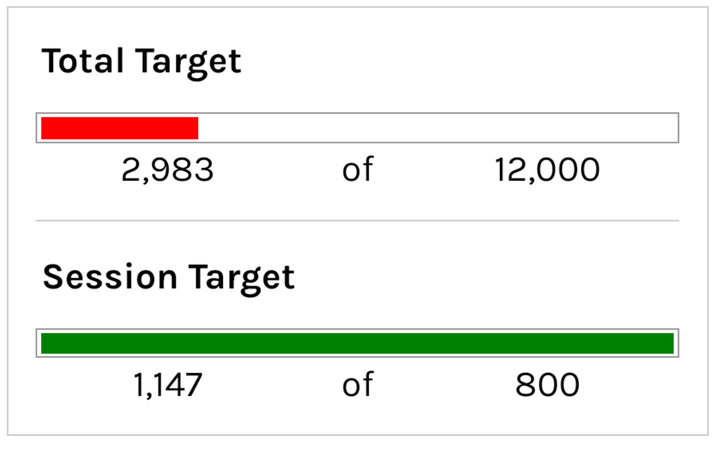
Use the Transpose function to convert data from a column to a row or vice versa. This can be useful for creating quick dashboard headers. Because you can pair it with the UNIQUE() formula. Use the Unique function to pull unique values from a colum, allowing for easy picking of only unique values. Take a column of statuses you have entered haphazardly, and use UNIQUE() to list them, then wrap that with TRANSPOSE() to create headers for a quick dashboard, or Kan Ban style project management view. Easy way to create cheap and free version of Trello.
Create Pickers with Index / Match
Use the Index function to look up a value in a table and return a specific column or row. Pairing it with Match means you can pick or choose a specific row based on a unique value. Use the Match function to find the position of a value in a column. Any column will do. Make sure it’s unique and you found the right row. Then you can access the entire row of data.
Dynamically pulls values based on user selection. Great for creating invoices. Great for making summaries of clients. Great for managing a project through many steps, and many hands touching it. Create a dashboard to pick any task to see where it is in your workflow.
Email Daily Reports with Apps Script
Use Apps Script to automate the sending of reports via email at regular intervals. Pick any specific data in your sheet. Maybe a summary of sales or customers served. And set up an Apps Script to trigger every day, an email straight to your inbox.
Use MailApp.sendEmail() to send the report in the body of the email.
If the data is in cell A1 on sheet “Summary” you’ll use this script:
Spreadsheetapp.getActiveSpreadsheet().getSheetByName(“Summary”).getRange(“A1”).getValue
And we’ll assign that variable to be named: data
var data = Spreadsheetapp.getActiveSpreadsheet().getSheetByName(“Summary”).getRange(“A1”).getValue
Then we’ll send it to your email:
var email = “youremail@gmail.com”
var subject = “ Today’s Sales Summary: ” + new Date()
And now send the email
MailApp.sendEmail(email,subject,data)
Wrap that in a function called function sendReport {}
Just like below
Save in apps script then go to Triggers and add a Trigger. Time Based Trigger for each day. Select the hours you want to send it between. And you’re done.
See the example here:
https://docs.google.com/spreadsheets/d/14BNbf28NshyBN7yVs0YIKfuHCXWt2pS77UD9UfB_dms/edit?usp=sharing
More Sheets