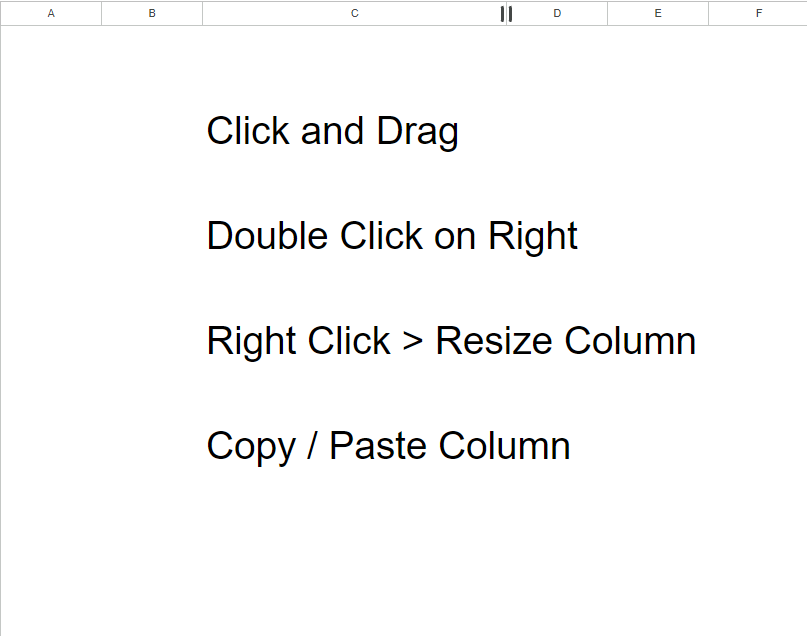
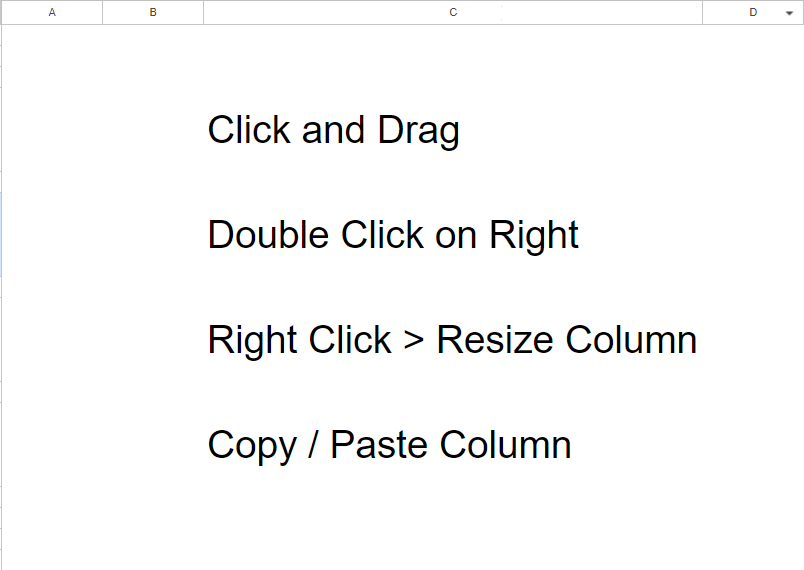
4 Ways to Resize Columns, Change the Column Width in a Google Sheet
Adjusting column width is crucial for enhancing the readability and functionality of spreadsheets. Properly sized columns ensure that all data is visible without unnecessary scrolling or cutting off information, which can lead to errors or misinterpretations.
Welcome to our tutorial on mastering column width in Google Sheets! Adjusting column size might seem basic, but there's more to it than meets the eye. We'll explore four effective methods to tailor your spreadsheet to your exact needs.
Whether you're a spreadsheet newbie or a seasoned pro, this video will equip you with valuable tips and tricks. From quick adjustments to precise control, we'll cover it all.
Let's dive in and discover the best way to optimize your column widths for maximum productivity and readability!
- Robert Collier
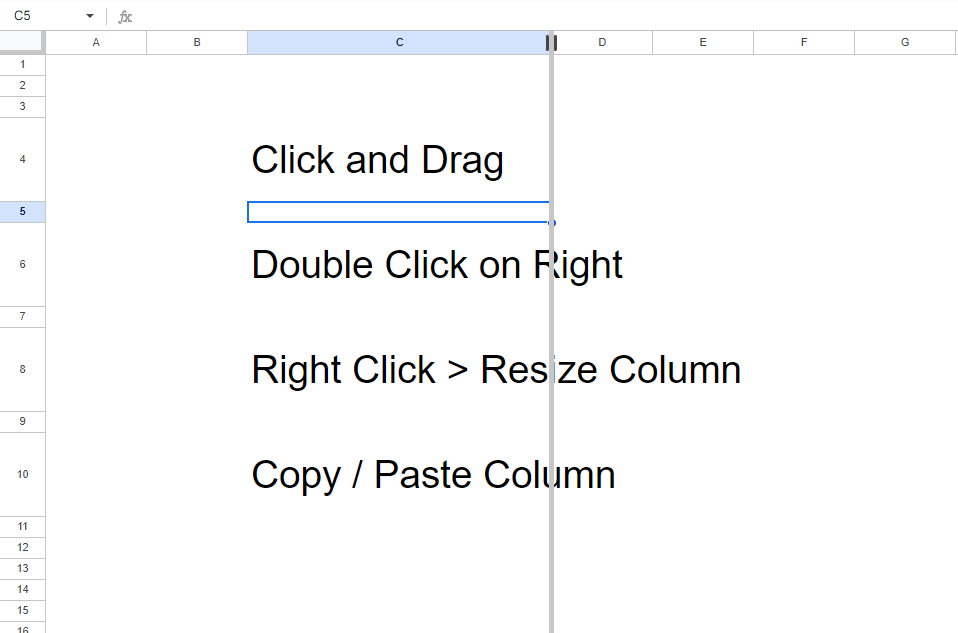
Method 1: Click and Drag
One of the most intuitive ways to adjust column width is by clicking and dragging the borders of the columns. Here's how:
- Hover over the column border. Position your mouse pointer on the line separating the column you want to resize from the next column.
- Watch for the cursor change. Your mouse pointer will transform into a double-headed arrow, indicating you're ready to resize.
- Click and drag. Press and hold the left mouse button, then move the mouse to the left or right to increase or decrease the column width.
- Release to confirm. Once the column is the desired size, release the mouse button.
Method 2: Double Click for Auto-Resize
For a quick and efficient way to resize columns, try the double-click method:
- Target the column: Hover your mouse over the right edge of the column header.
- Activate auto-resize: Double-click the column border.
- Instant adjustment: Google Sheets will automatically adjust the column width to accommodate the longest text within it.
This method is a time-saver when dealing with columns containing varying text lengths. By double-clicking, you can ensure that all content is visible without manual adjustments. However, for more precise control or when dealing with large datasets, the manual dragging method might be more suitable.
Tip: To apply this method to multiple columns simultaneously, select the desired columns before double-clicking on any of their borders.
Method 3: Right-Click to Resize Columns
For granular control over column width, utilize the right-click menu:
- Select the column. Click on the header of the column you want to adjust.

- Access the resize option. Right-click (or control-click on a Mac) on the selected column header.
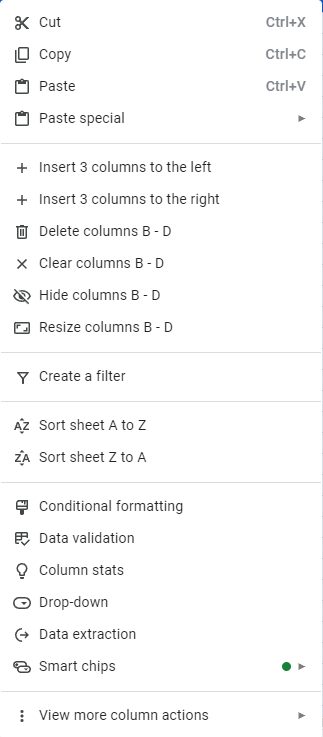
- Choose "Resize column". From the context menu, select the "Resize column" option.
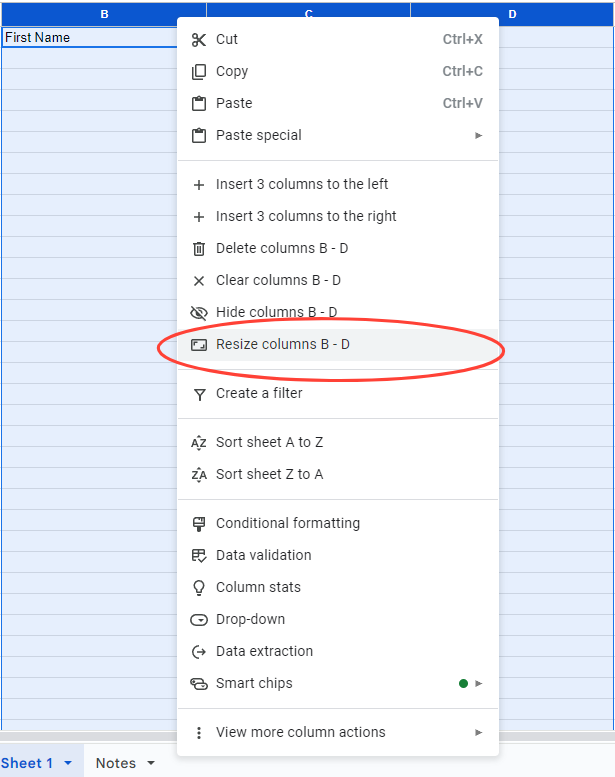
- Specify the width: A dialog box will appear, prompting you to enter the desired width in pixels.
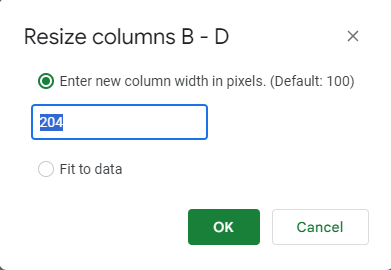
- Confirm the change: Input the pixel value and click "OK" to apply the new width.
This method offers pixel-perfect precision, allowing you to tailor column widths to exact specifications. Additionally, you can resize multiple columns simultaneously by selecting them before right-clicking.
Method 4: Copy and Paste Column Width
A frequently overlooked but highly effective technique for replicating column widths is copying and pasting formats:
- Set the source column: Adjust the width of the column you want to replicate to your desired size.

- Copy the column format. Select the entire column, including the header, and copy it (Command + C on Mac or Ctrl + C on Windows).

- Paste the format. Select the column(s) you want to modify, right-click, and choose "Paste special."
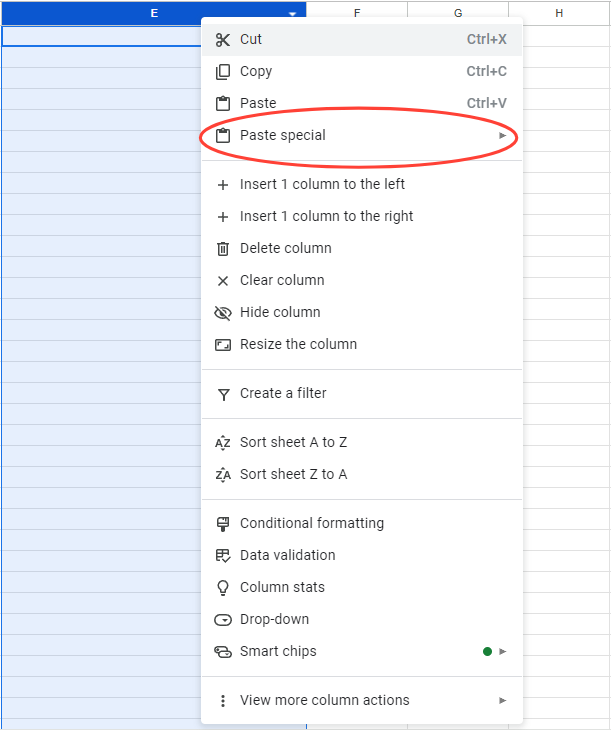
- Choose "Paste format only". In the paste special options, select "Paste format only" to apply the width without changing the content.
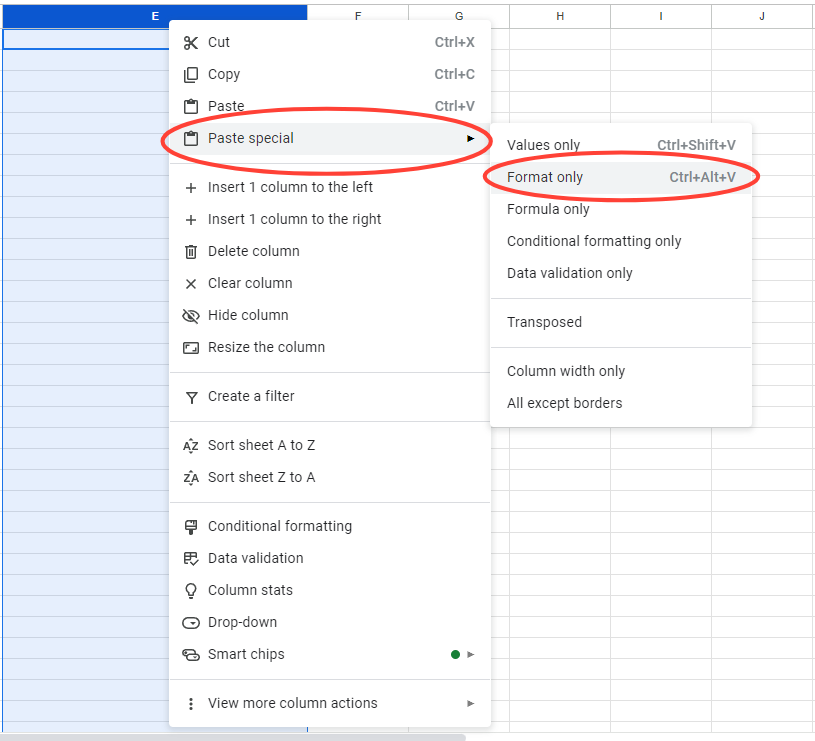
This method is particularly useful when applying the same width to multiple columns or when replicating formatting from one sheet to another.
Enhancing Visual Appeal and Functionality
Understanding these methods not only helps you manage column widths more efficiently but also improves the visual appeal and functionality of your spreadsheets. Here are a few tips to make your spreadsheets more user-friendly:
- Consistent Widths: For a clean and professional look, consider giving related columns consistent widths.
- Adjust for Content: Columns containing longer text, such as descriptions, should be wider to accommodate the content.
- Use for Data Input: Wider columns are beneficial for data input fields where users need more space to enter information.
Common Mistakes in Adjusting Column Widths
Click and Drag: Users often forget to hover over the right border of the column, leading to incorrect resizing. Always ensure you're on the correct edge before dragging.
Double Click for Auto-Resize: Some users double-click too quickly or in the wrong spot, causing the auto-resize feature to fail. Make sure to double-click precisely on the right edge of the column header.
Right-Click to Resize Columns: Forgetting to select the column before right-clicking can lead to confusion. Always highlight the column you want to adjust first.
Copy and Paste Column Width: Users may forget to select "Paste format only," resulting in unwanted changes to data. Remember to choose the correct paste option to maintain data integrity.
Consistent Widths: Beginners might overlook the importance of consistent widths across related columns, leading to a disorganized appearance. Aim for uniformity for a cleaner look.
Adjust for Content: Failing to adjust widths for longer text can result in cut-off content. Always check for readability and adjust as needed.
Use for Data Input: New users might create columns that are too narrow for data entry, causing frustration. Ensure that input fields are wide enough for user convenience.
Do You Know the Answer?
What is the purpose of the double-click method for adjusting column width in Google Sheets?
A) To manually set a specific pixel width for the column
B) To automatically adjust the column width to fit the longest text
C) To copy the width from another column
D) To delete the column entirely
Conclusion
By mastering these column width techniques, you’ll elevate your Google Sheets game and create spreadsheets that are not only functional but visually appealing and easy to navigate. Whether you're crunching numbers, analyzing data, or simply organizing information, precise column adjustments are key to enhancing your spreadsheet's overall effectiveness.
Remember, the ideal column width depends on the specific content and the intended audience of your spreadsheet. Experiment with different methods to find the perfect fit for your data. With practice, you'll develop a keen eye for column width optimization, resulting in spreadsheets that are both informative and visually pleasing.
Now, go forth and create spreadsheet masterpieces!
Gain More Confidence
After familiarizing yourself with basic formulas and functions, you may still feel uncertain about your abilities in Google Sheets. This video will provide tips and strategies to build confidence, encourages you to experiment with the formulas you've just learned and apply them in real-world scenarios.
Watch or read it here:
 Andrew Kamphey
You might be learning to change columns widths to make your sheets look better. Here are more ways to make your sheets look better.
Once you have mastered the basics of column width adjustment, creating a dashboard allows you to apply those skills in a more complex context. This video will guide you through the process of designing a visually engaging dashboard, utilizing the foundational knowledge from the article to make your data presentation more effective.