10 Simple Ways to Make Your Spreadsheets Better
Here's a few things you can do very simply and in no time at all, to make your spreadsheets better. Make better spreadsheets for you to spend time in. And better for other people who have to use your spreadsheets.

Here's a few things you can do very simply and in no time at all, to make your spreadsheets better. Make better spreadsheets for you to spend time in. And better for other people who have to use your spreadsheets.
If you're trying to get people to look at your spreadsheets, you might as well give them a nice experience.
We can do that in just a few minutes, or moments.
In fact some of these tips are going to take you less than 3 seconds to implement.
These quick fixes will make your data easier to read and more visually appealing. It's a win-win for you, your sheets, and your eyes.
We're going to count down from 10 to 1, the simplest things you can do!
Number 10: Change Your Font
One of the easiest ways to improve your spreadsheet is by changing the default font from Arial to Karla or to any font that you want. Here's how you do it:
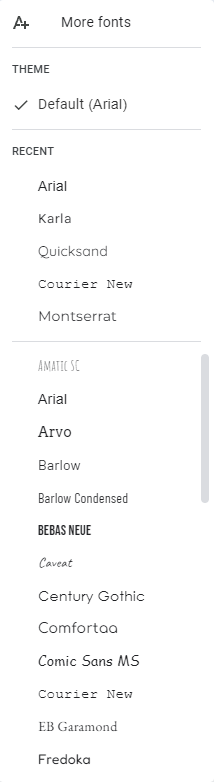
- Go to the font menu and select "More fonts."
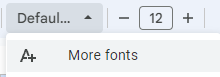
- Type in "Karla" and click on it.
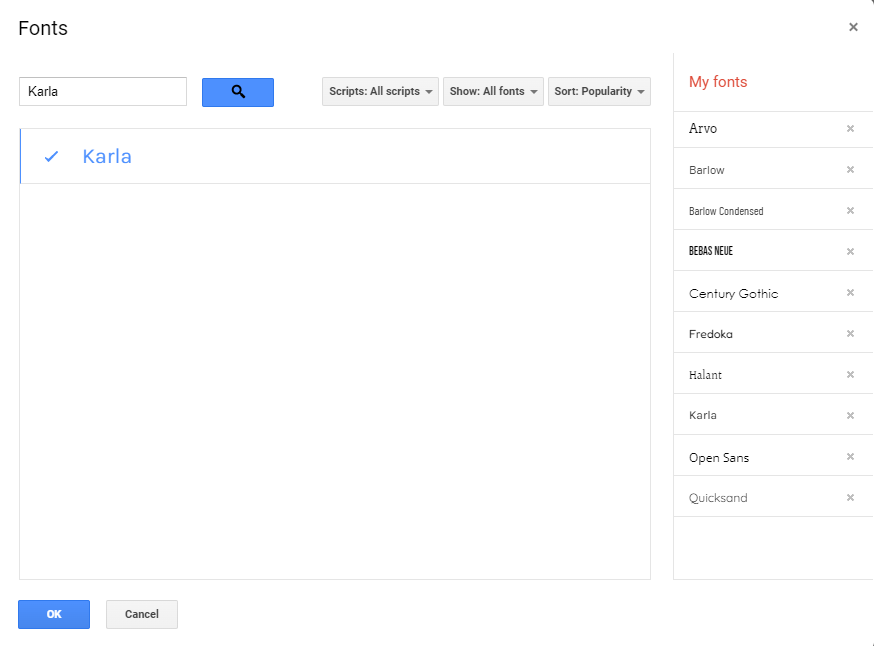
- Now you have the Karla as your default font.
Switching to Karla gives your sheet a modern, clean look that's easier on the eyes.
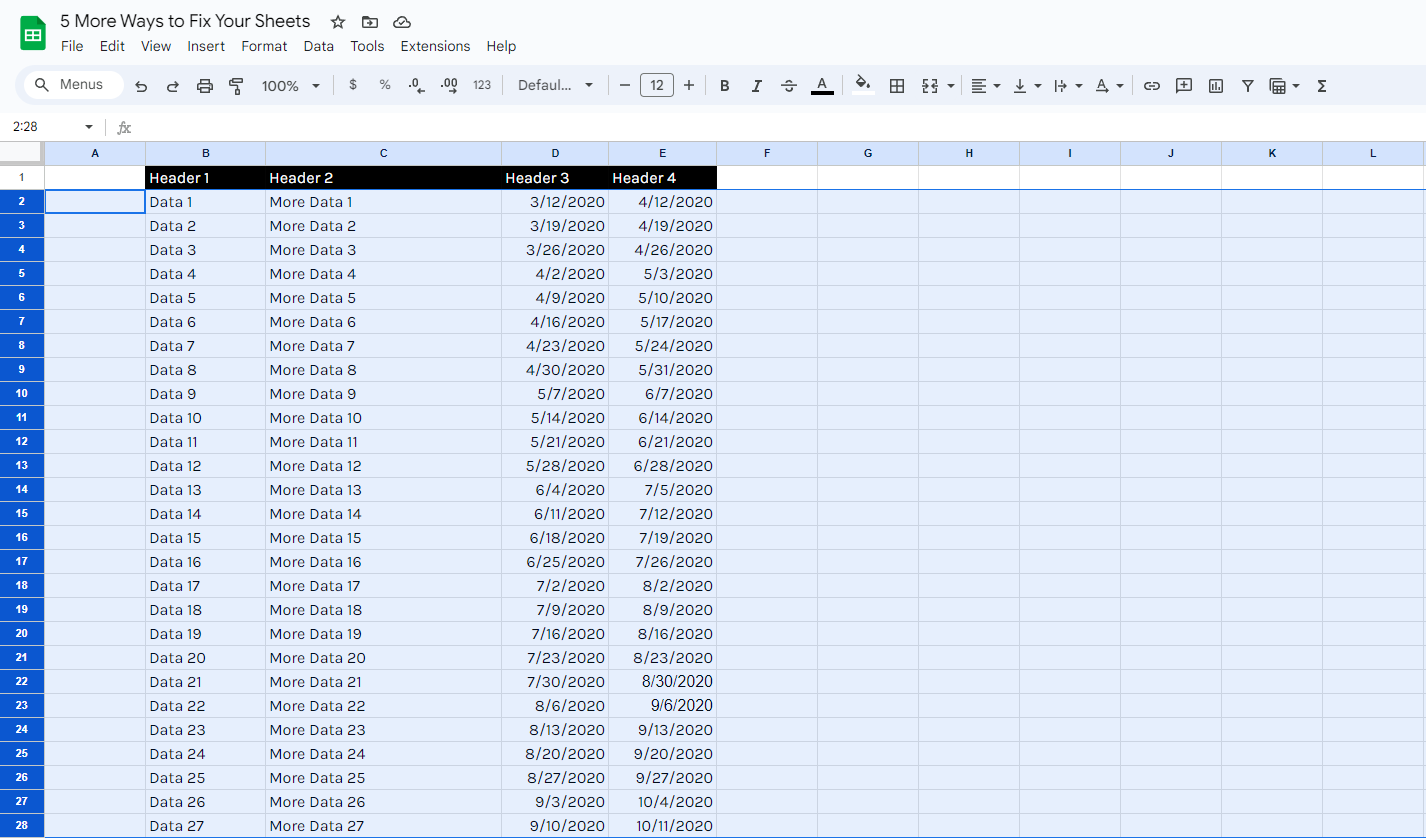
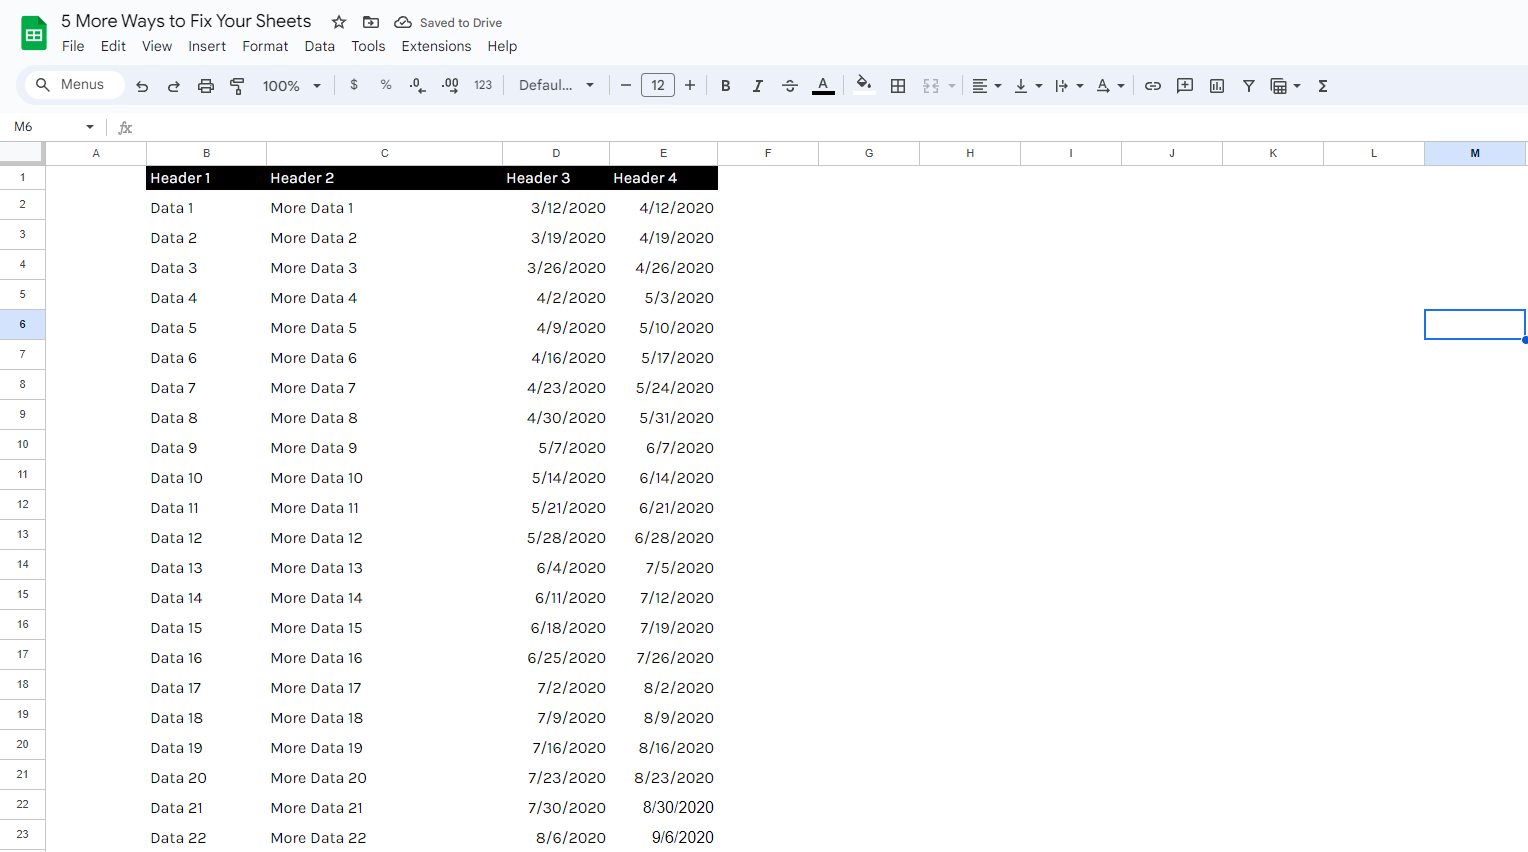
Number 9: Add More Space Between Rows
A common issue in spreadsheets is data looking too cramped. To add more space between rows, follow these steps:
- Select the rows you want to resize.
- Right-click and choose "Resize rows."

- Select "Specify row height"; don't go for "Fit to data." Fitting the data will adjust the row heights up and down as you make changes. Instead, we want to specify a fixed row height.
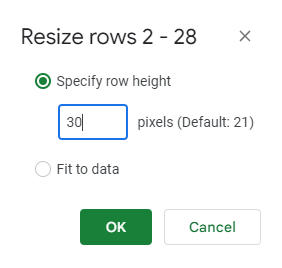
- Click "OK."
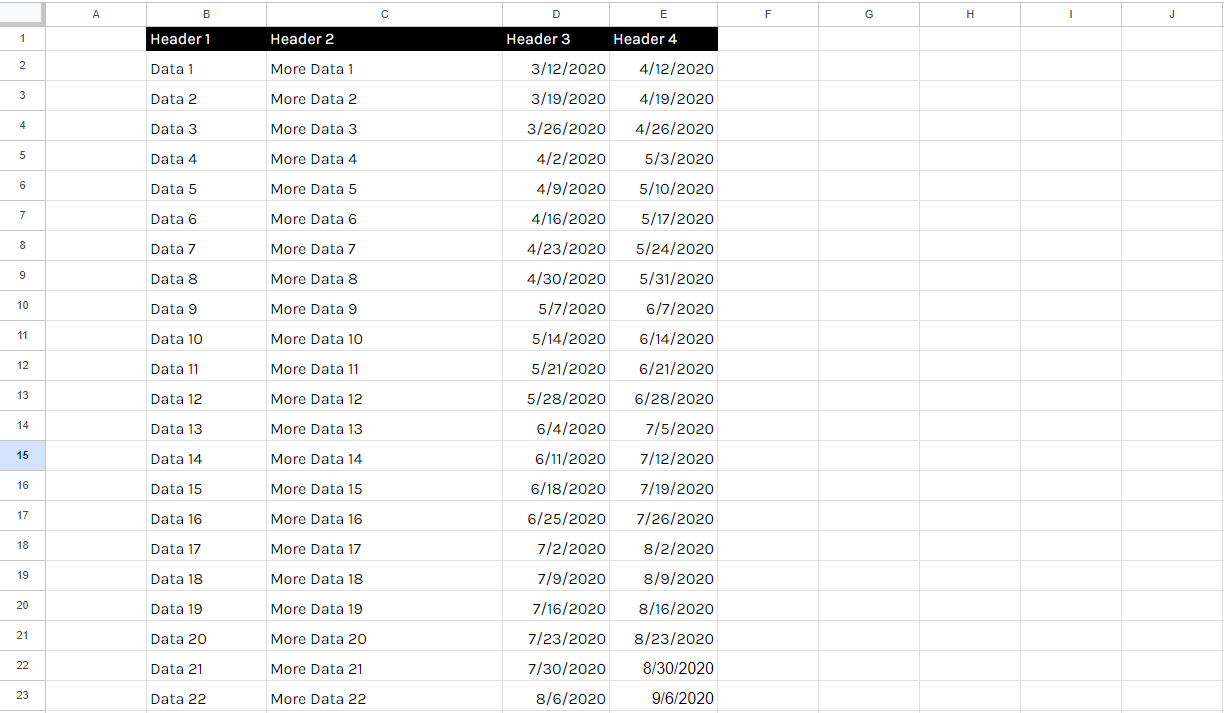
This will make your data more readable and give your sheet a cleaner appearance. When rows are too close together, it can be hard to distinguish between different pieces of information. Adding more space creates a visual breathing room, making your data easier to scan and interpret.
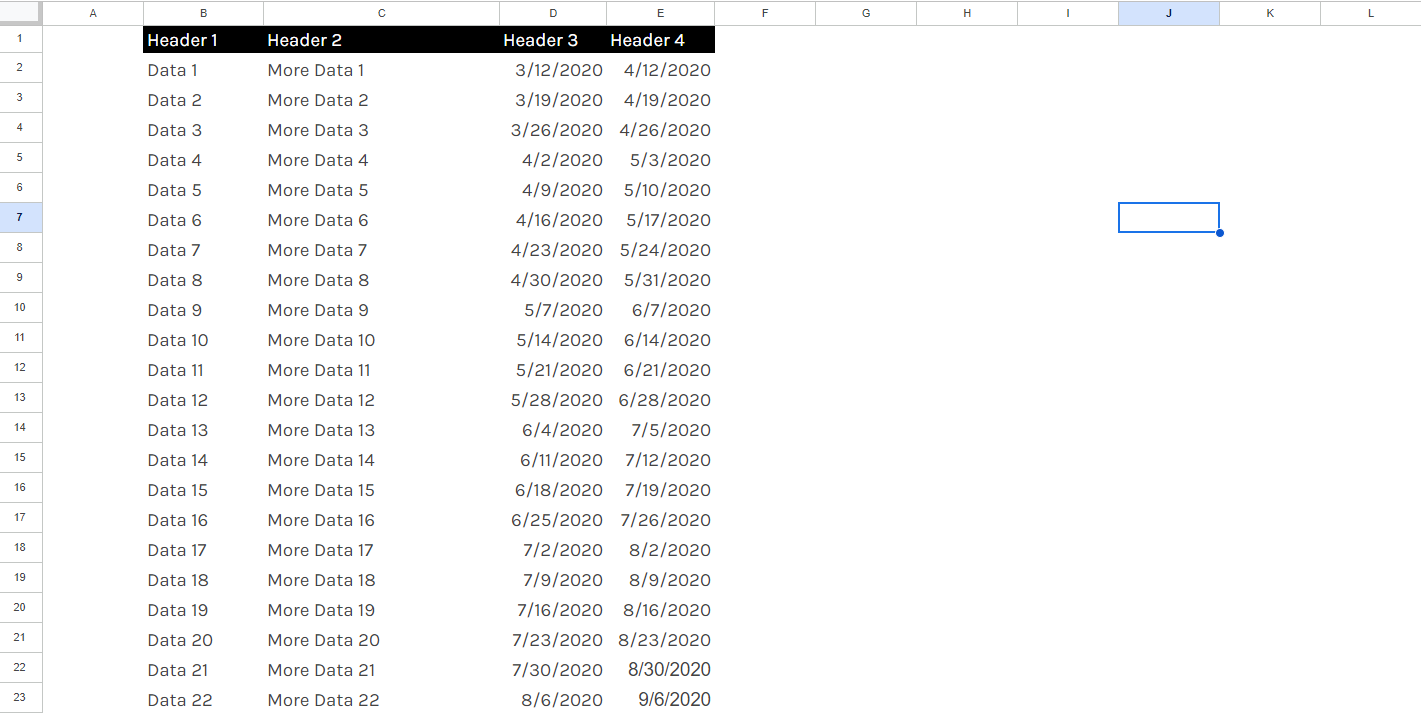
Number 8: Hide Gridlines for a Better Looking Spreadsheet
Gridlines can make your sheet look cluttered. To hide them:
- Go to "View" and select "Show."
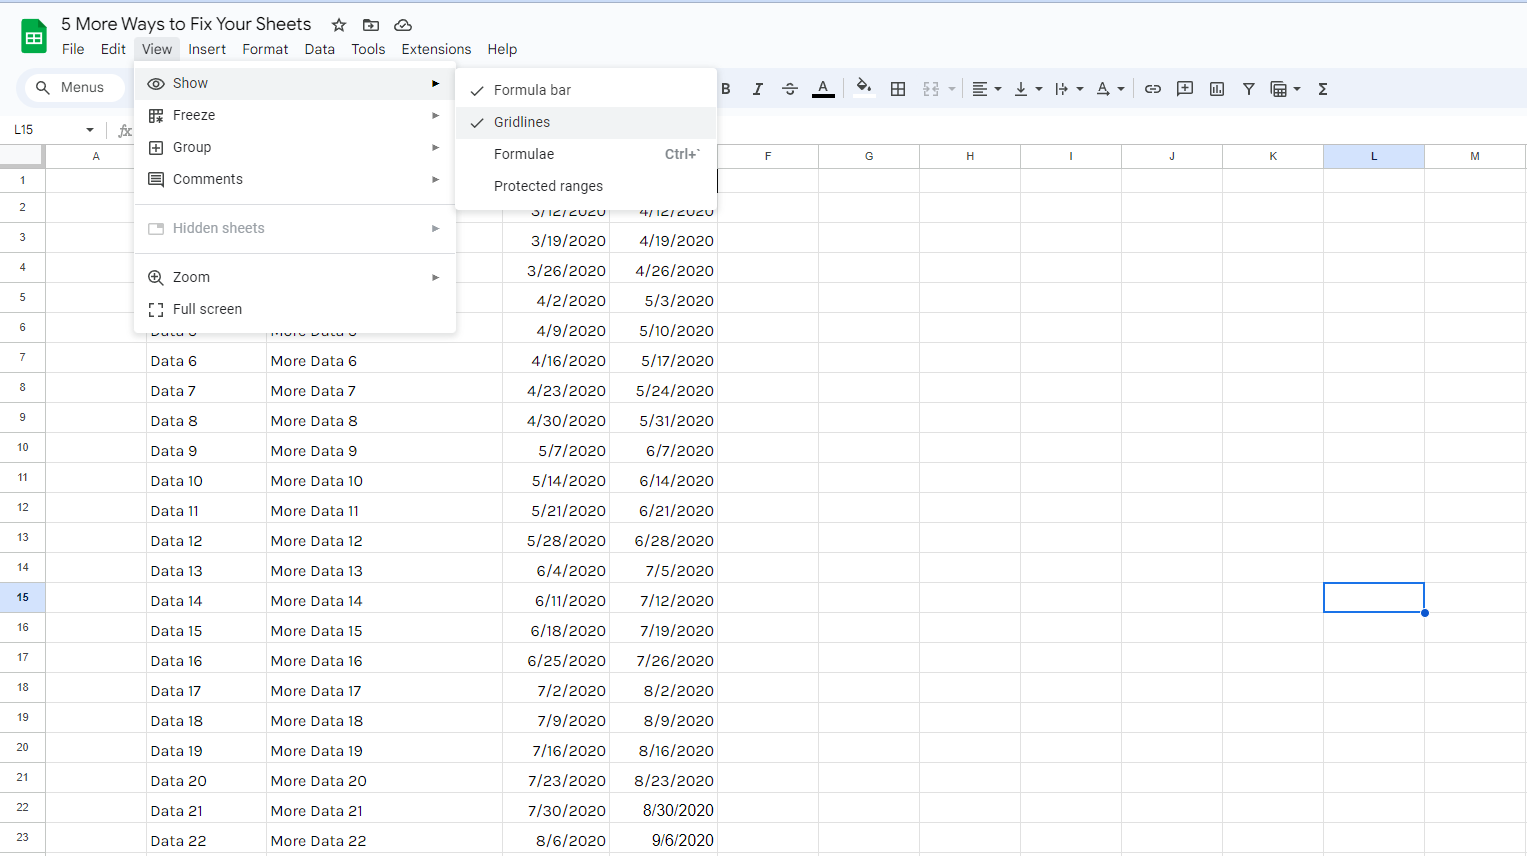
- Uncheck "Gridlines."
Your data will look much cleaner and more professional without the gridlines. Removing gridlines shifts the focus to the content, not the structure, of your sheet. This simple change can significantly enhance the overall aesthetic of your spreadsheets.
Number 7: Increase Font Size for Better Font
Small font sizes can strain your eyes. To make your data more legible:
- Select your data.
- Increase the font size to 14 or any size you want.
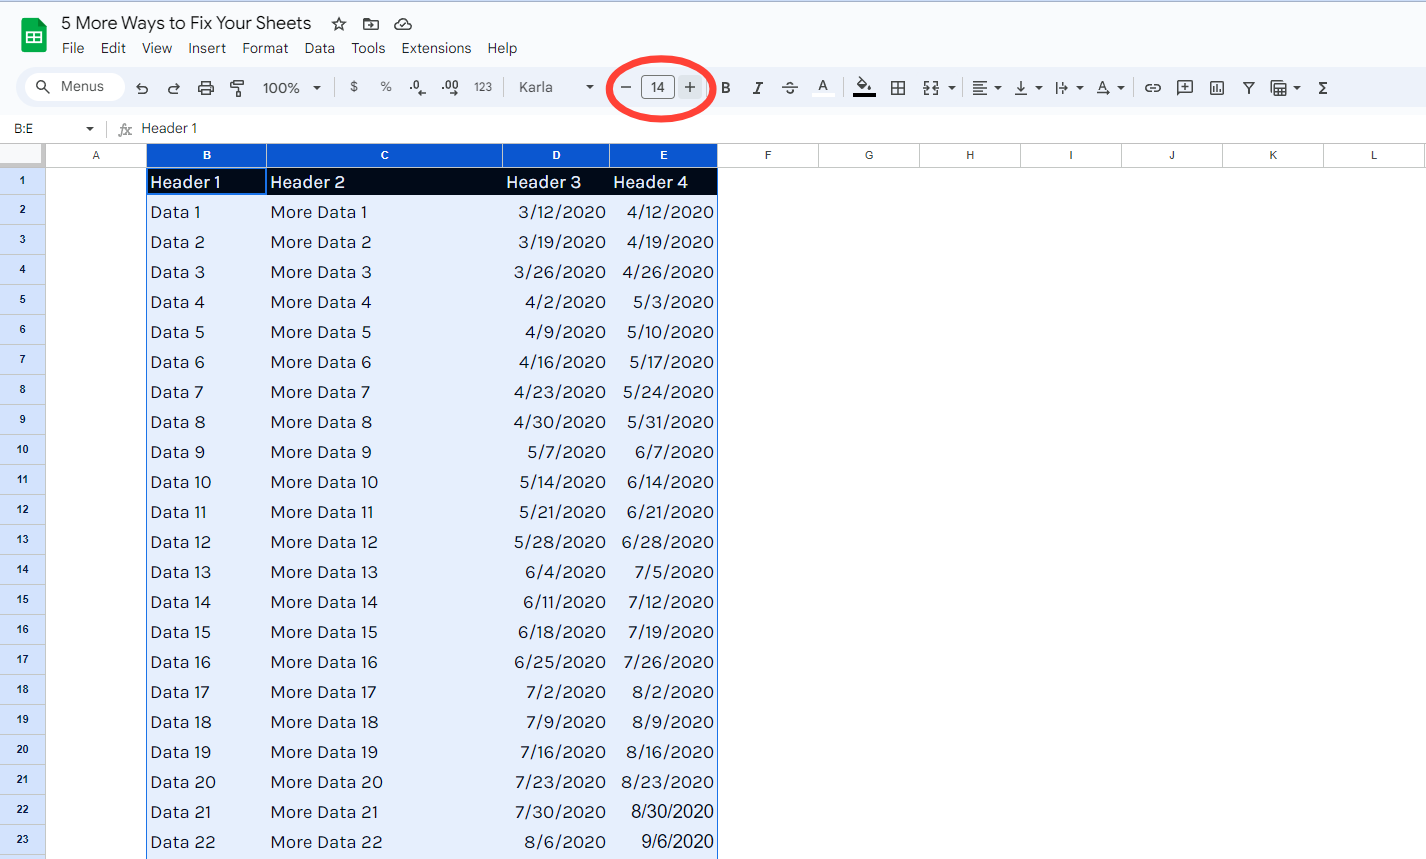
You may need to adjust the column widths to accommodate the larger text, larger font sizes make your spreadsheet more accessible, reducing the need to squint or lean closer to the screen. This is especially important for presentations or when sharing sheets with others.
Number 6: Reduce Glare with Lower Contrast For Less Headaches
High contrast can cause eye strain over time. To reduce glare:
- Go to Text colour > Custom.
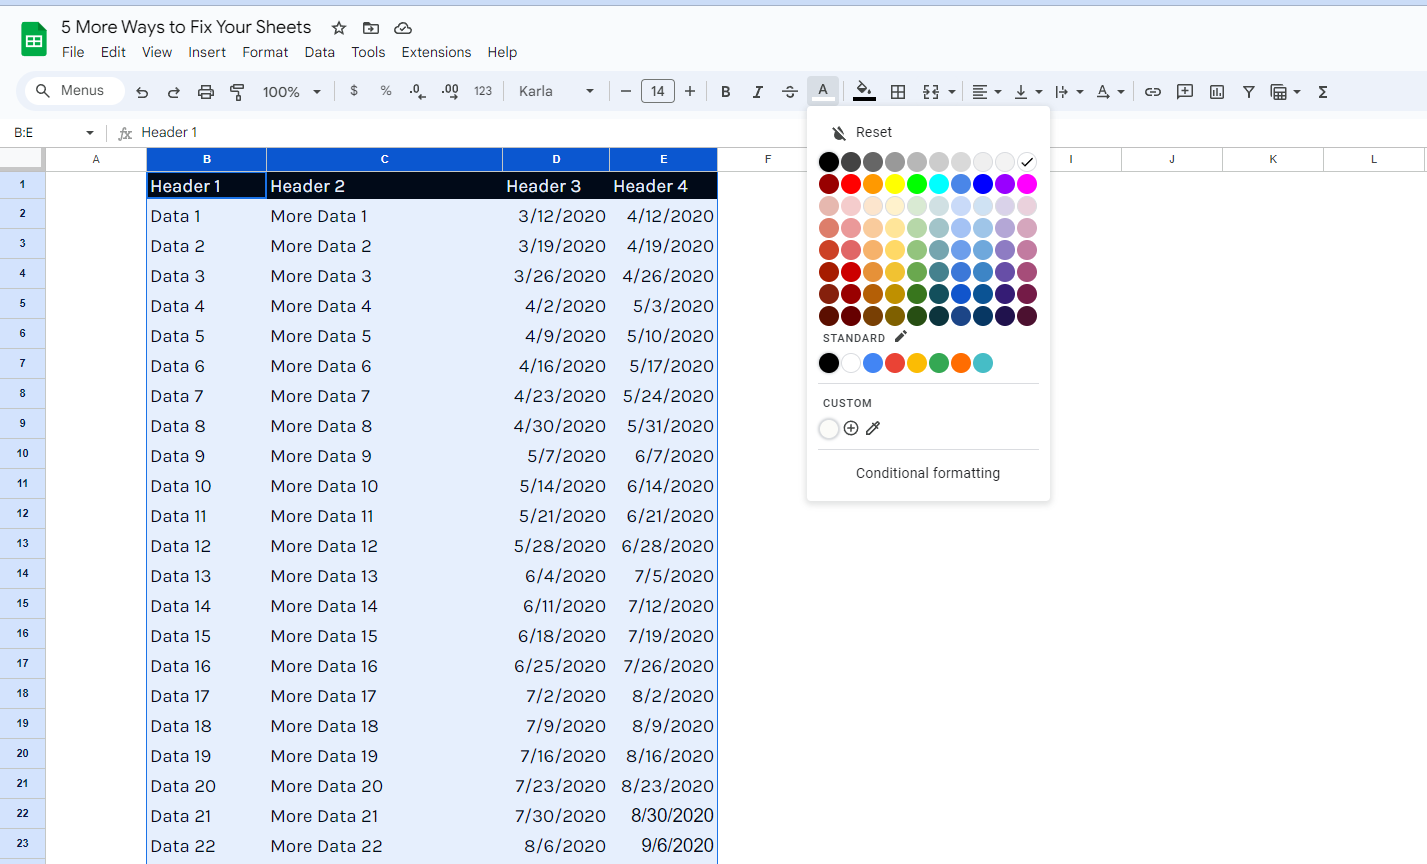
- Change the font color from the blackest black to a custom dark gray (#444444).
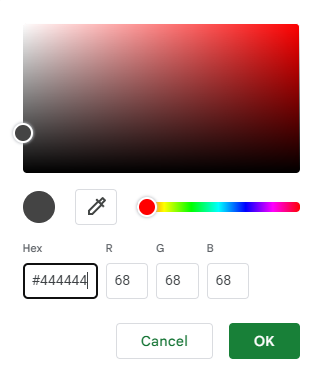
Adjust your headers accordingly to ensure they remain visible.
This slight change decreases contrast, making it easier to work with your sheet for extended periods. The harsh contrast of black text on a white background can be fatiguing. A softer, dark gray font color is easier on the eyes, allowing you to work longer without discomfort.
By implementing these five simple fixes, you'll transform your spreadsheets into more readable, aesthetically pleasing, and user-friendly documents.
With these steps, you're well on your way to making better sheets. Remember, don't just make any sheets—make better sheets! Keep these tips in mind, and you'll see a noticeable improvement in your spreadsheet experience.
We're done tackling the first 5 epic fixes, but guess what? Our sheet journey doesn't end there!
We have another batch to help you make your spreadsheet better!
If you find it time-consuming and soul-crushing to figure out the perfect formulas, have no fear, it's simpler now.
You can now simply ask AI to create formulas for you.
Try the Better Sheets Formula Generator
5 Final Fixes!
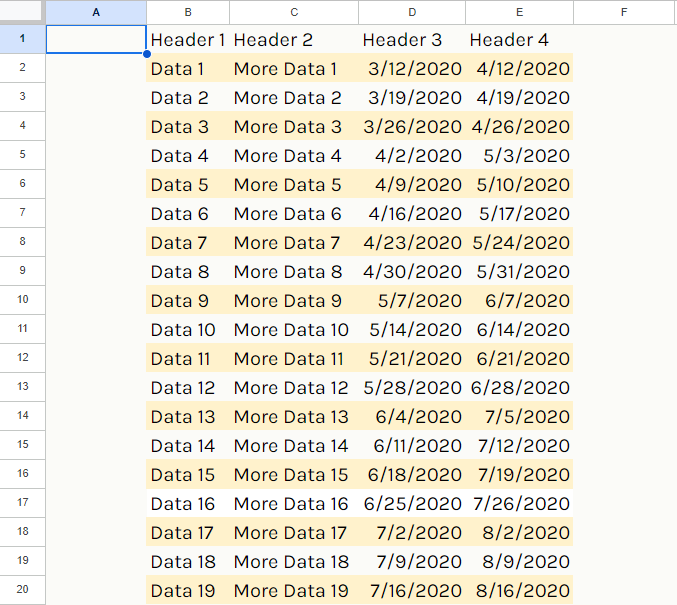
This time around, we're diving deep into formatting magic. We'll banish boring white backgrounds, create tables that pop with alternating colors, and adjust column widths for clear readability. Plus, we'll learn how to freeze headers and columns so you never lose track of important info, and discover deleting unused columns and rows (it's like a digital decluttering session for your spreadsheet!).
So Let's get ready and continue our countdown starting from 5!
Number 5: Change the Background Color
Let's start by talking about color. While changing the font color is important, altering the background color can make a significant difference too, just follow these steps:
- Select the entire background.
- Hit the paint bucket, and choose a custom color. Instead of the default FFF (the whitest white), switch to a softer, more paper-like color which is FBFBF8.
This creates a low-contrast sheet that's easier on the eyes for long periods.
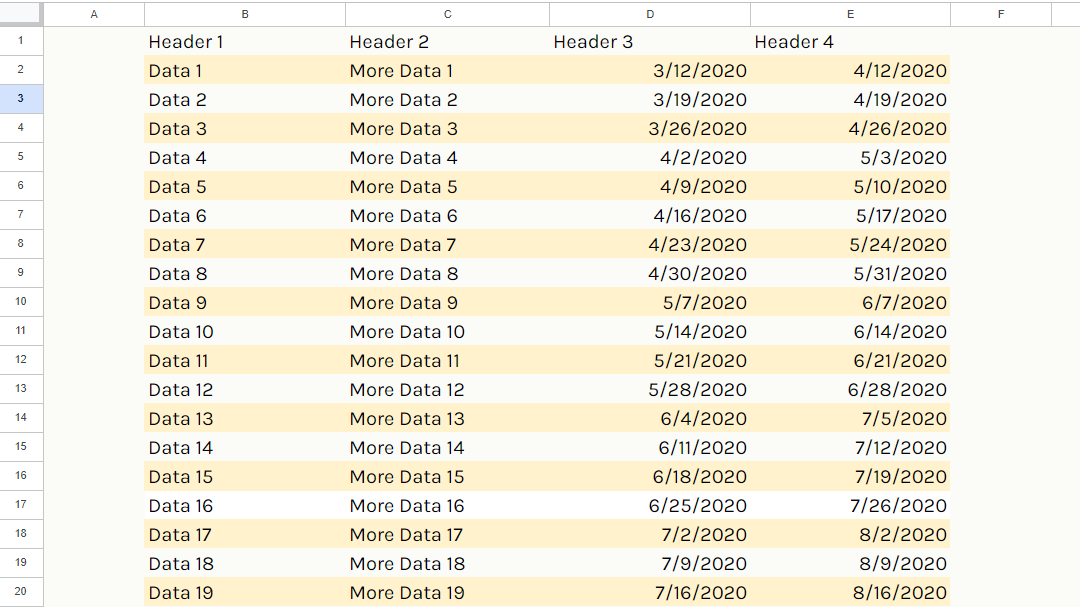
Number 4: Create Alternating Colors for Tables
If you miss those grid lines in your tables, alternating colors can help. Although Google Sheets can do this programmatically, I prefer doing it manually for full control. This how we can do it:
- Start by formatting a couple of lines with the desired colors.
- Copy the formatting and paste it down the column.
- Copy," right-click, and select "Paste Special" > "Format Only."
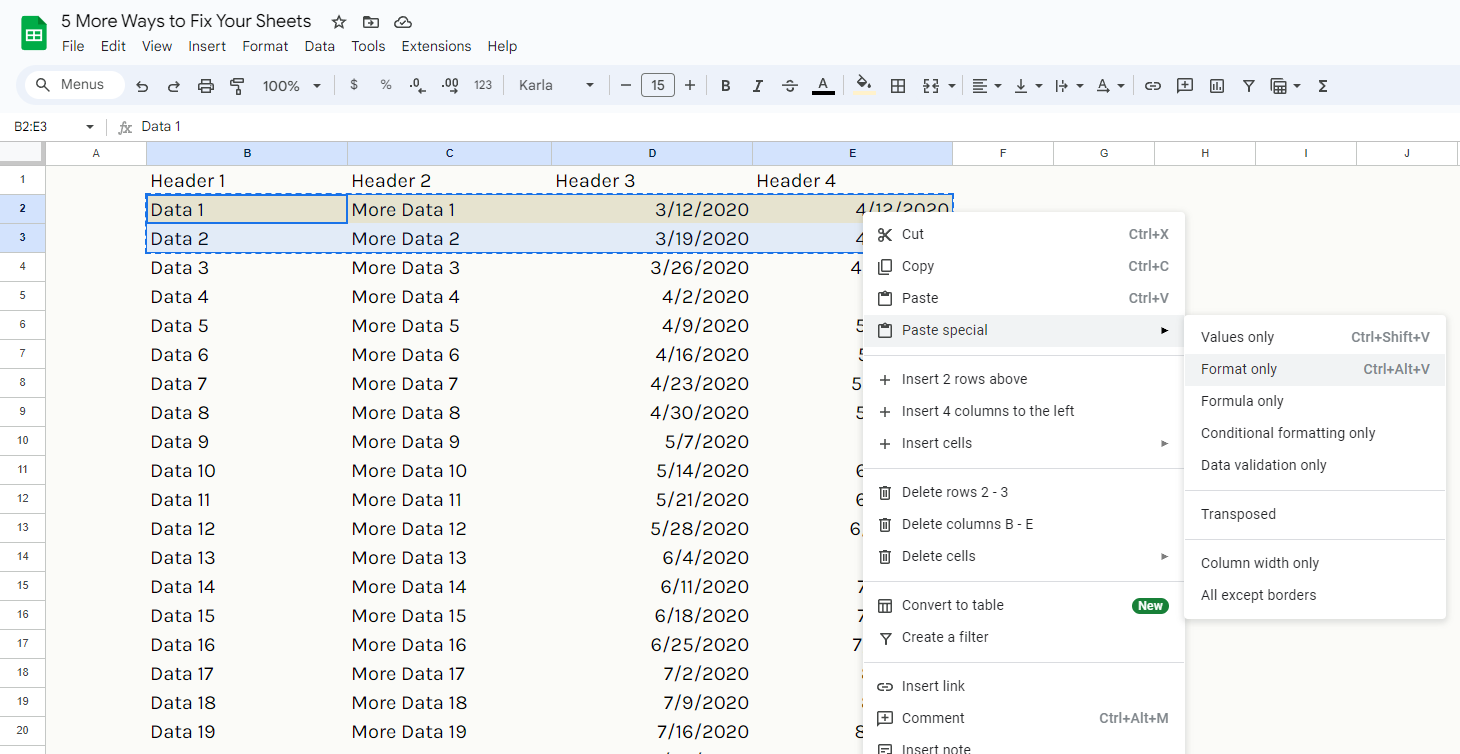
- Select all the rows and use Command Y to repeat the action.
This gives you a neat, color-alternated table.
Number 3: Adjust Column Widths for Clarity
Columns in Google Sheets often serve different purposes. To emphasize or minimize their impact, adjusting their widths is key. Here’s how:
- Double-click on the right-side column divider.
- Double-click on the right-side column divider.
This action resizes the column to fit its widest content. Clear, well-spaced columns enhance readability and usability instantly.
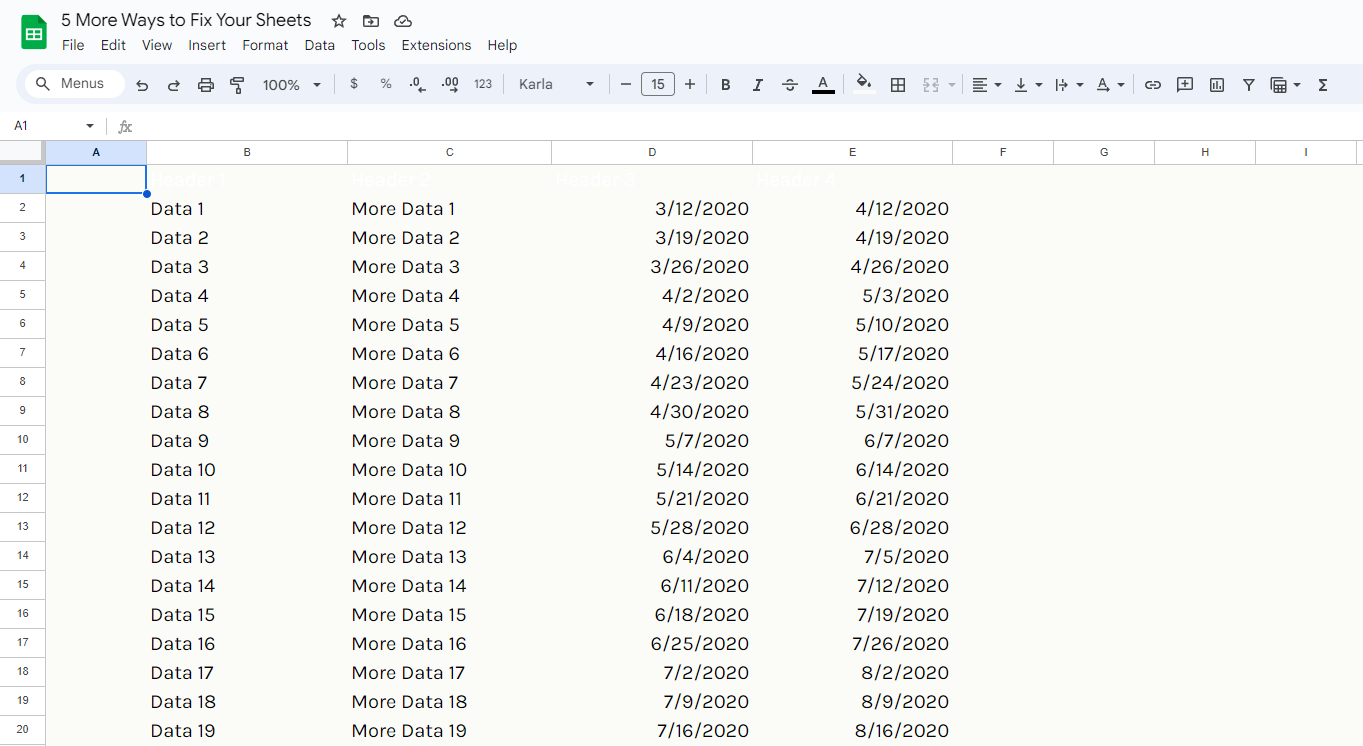
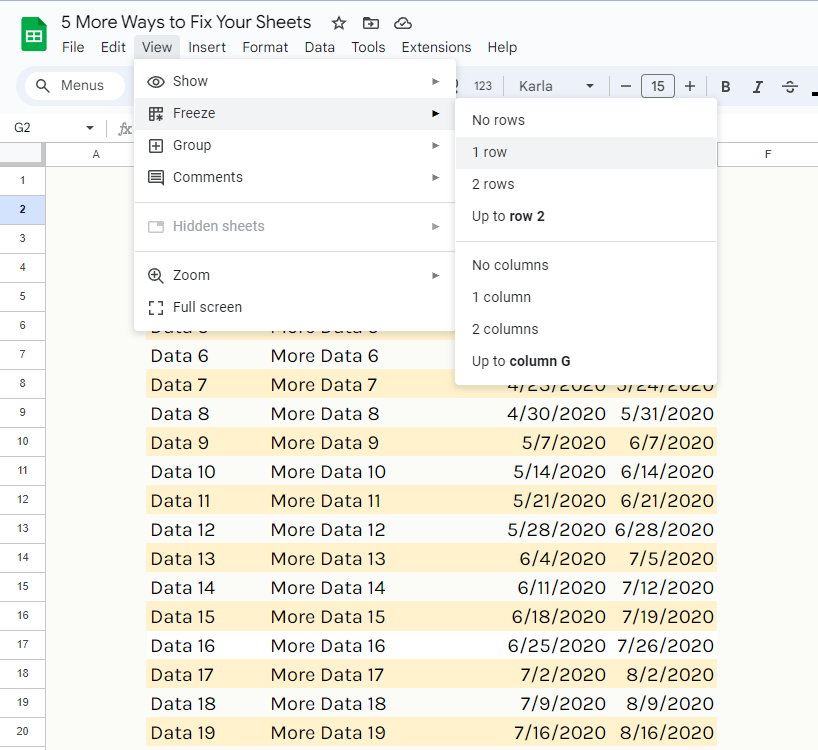
Number 2: Freeze Headers and Columns
Ever lost your headers while scrolling through a spreadsheet? Prevent this annoyance with these simple steps:
- Navigate to View tab.
- Select “Freeze” > “1 row.”
Your header row will now remain visible as you scroll down. For important columns, repeat this step to freeze the first column. This keeps essential information always within view, boosting productivity.
Your header row will now remain visible as you scroll down. For important columns, repeat this step to freeze the first column. This keeps essential information always within view, boosting productivity.
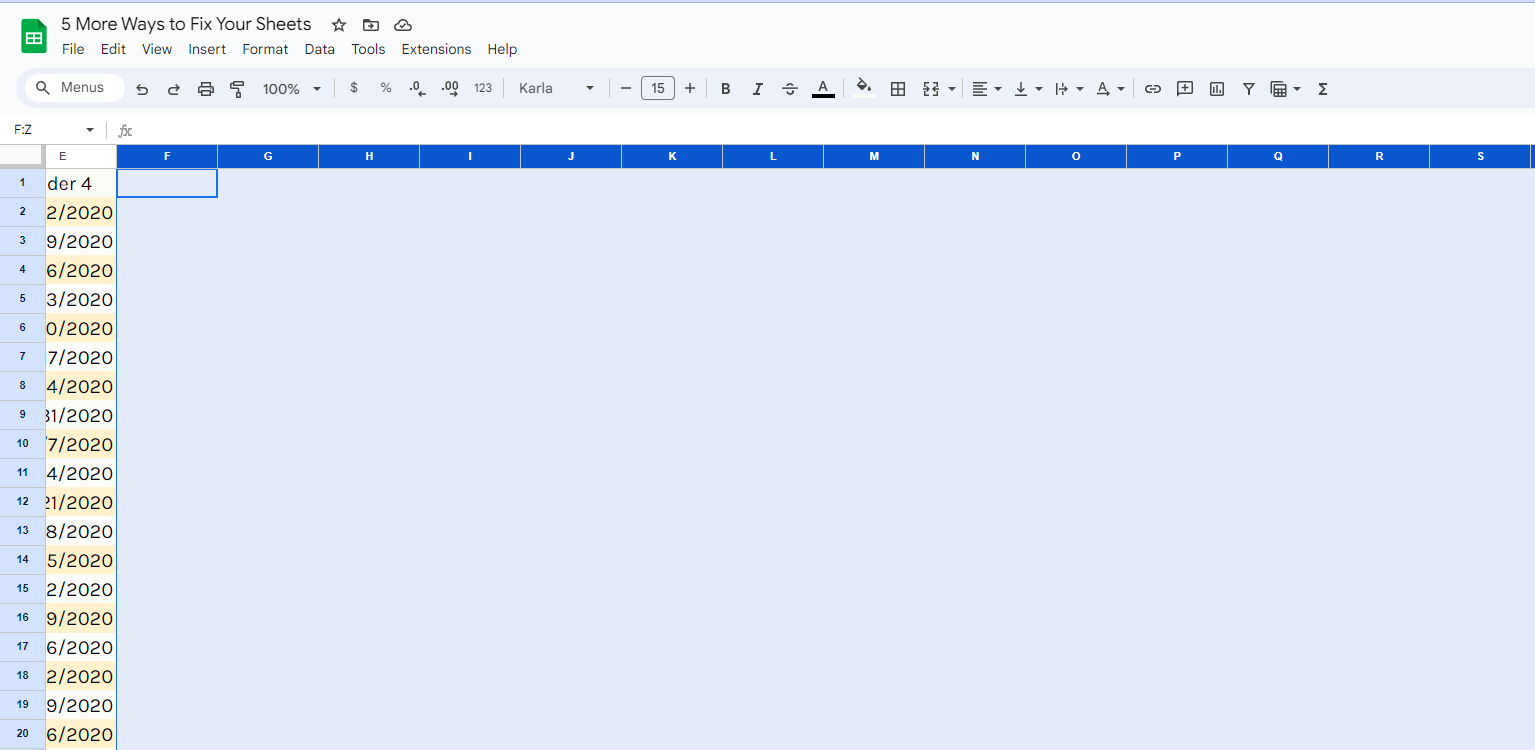
Number 1: Delete Unused Columns and Rows
One of my biggest pet peeves is seeing unused columns and rows. Cleaning these up can make your sheet look much more professional:
- Click the last column or row you need.
- Hold Shift and Command (Mac) or Shift and Control (Windows).
- Press the right arrow to select all columns or the down arrow for rows, highlight all columns to the right.
- Right-click and select "Delete" to remove them swiftly.
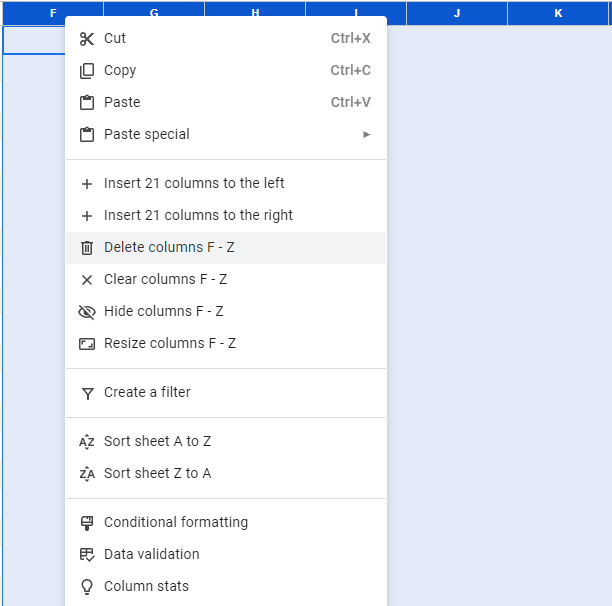
Do the same step to delete the unused rows and your sheet now looks polished, focused, and ready for efficient use.
Easily Delete Unnecessary Cells
Tiny Sheets is a free, 1-click, tool to delete all Unnecessary rows and columns. Every cell beyond a data range you can easily delete in one simple click.
And there you have it! The 10 simple ways to elevate your spreadsheets from functional to fantastic.
With a splash of color, a touch of organization, choosing the right font and some strategic decluttering, your spreadsheet will look better in no time.
Remember, a well-formatted spreadsheet isn't just about aesthetics – it's about efficiency!
By making your sheet clear, you'll save yourself (and your collaborators) valuable time and frustration.
So, go forth and conquer your spreadsheets with confidence! Don't just make any sheets; make better sheets!